The the customs link setup can be done either by using the assisted setup or by manually setting up the system.
Assisted Setup
The information below shows how the Customs Link module is set up using the Assisted Setup. The Assisted Setup guides the user through the setup process and configurations of the solution.
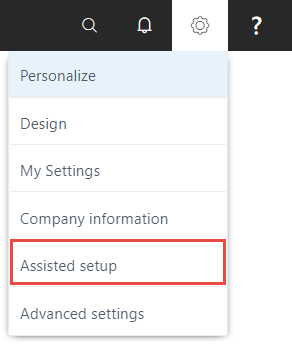
Click on Assisted setup from the settings icon on the home page.
Click on Open the Customs Link Setup.

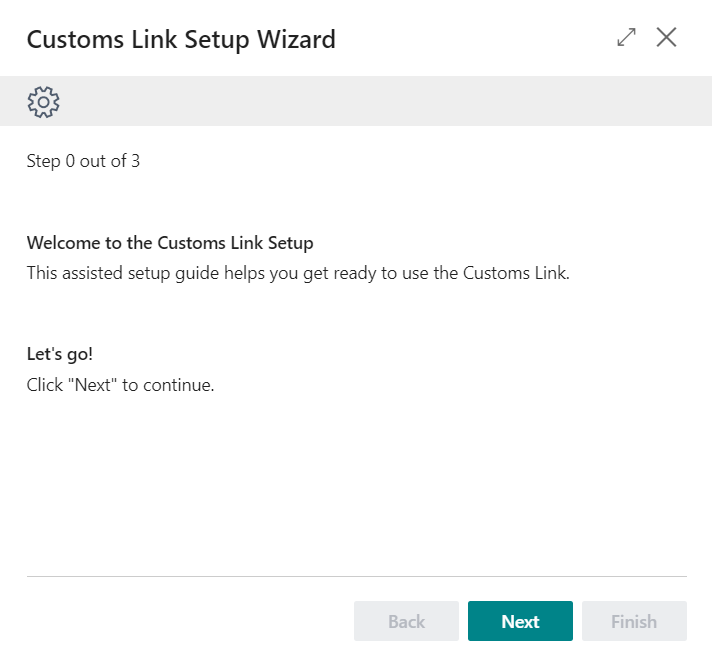
Follow the step-by-step guide. Click on Next to start the Setup.
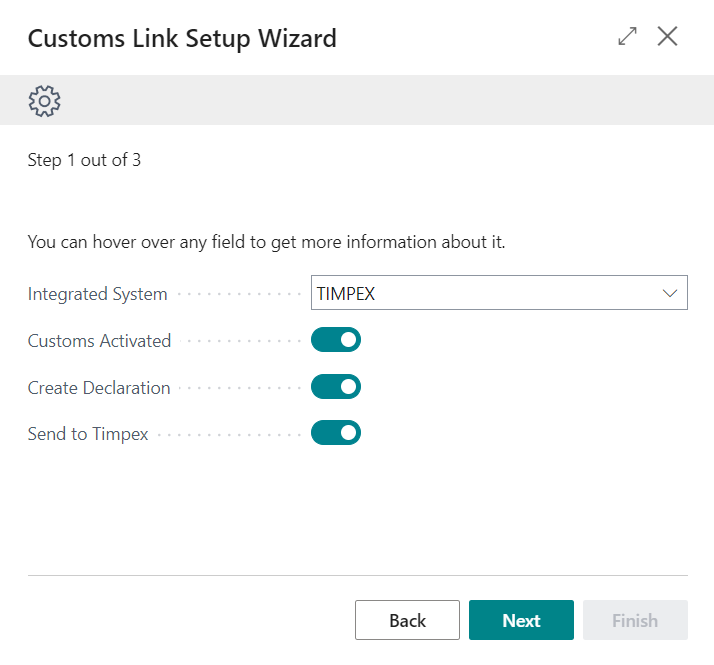
Fill in the fields and place a checkmark where applicable. Hover over field names to get a more detailed description. Note that the images below are an example of a setup and can be different between companies.
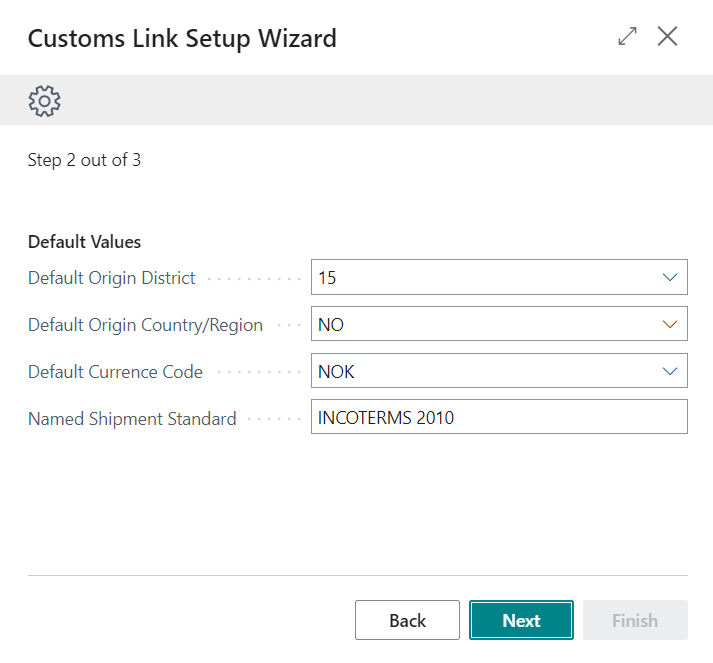
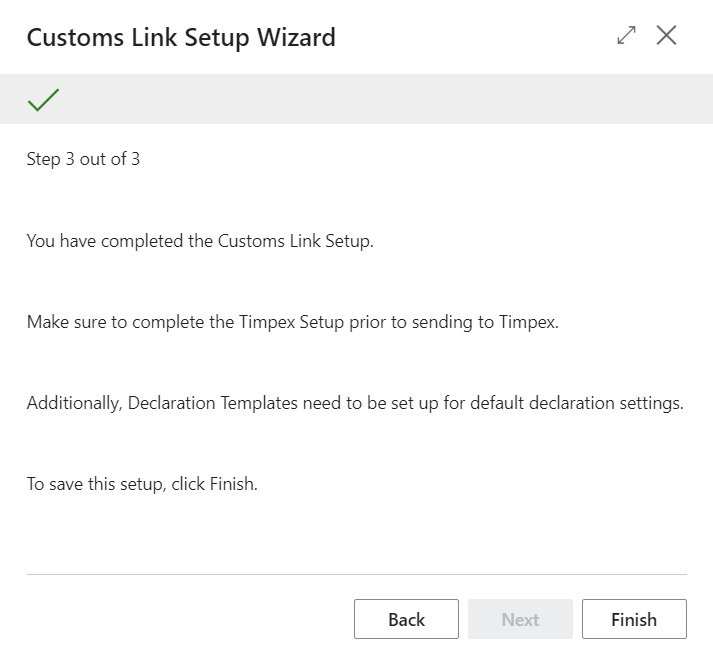
When all pages have been filled out, save the setup by clicking on Finish.
Manual Setup - Activate Customs
To activate the Customs Module go to the Customs Setup. To find the setup, search for Customs Setup in the search window and click the option.

By marking the Customs Activated, the system will active the Customs Module. Next, select an Integrated System. As of now there is only one system that is integrated with WiseFish and that is Timpex. Create a number series for the Declaration documents, see below. By activating the Create Declaration, a declaration document is created when agreements are posted. The declaration documents are then sent Timpex. If the user wants those documents to be sent to Timpex, be sure to activate the Send to Timpex field. To see how to create a connection with Timpex, click here.
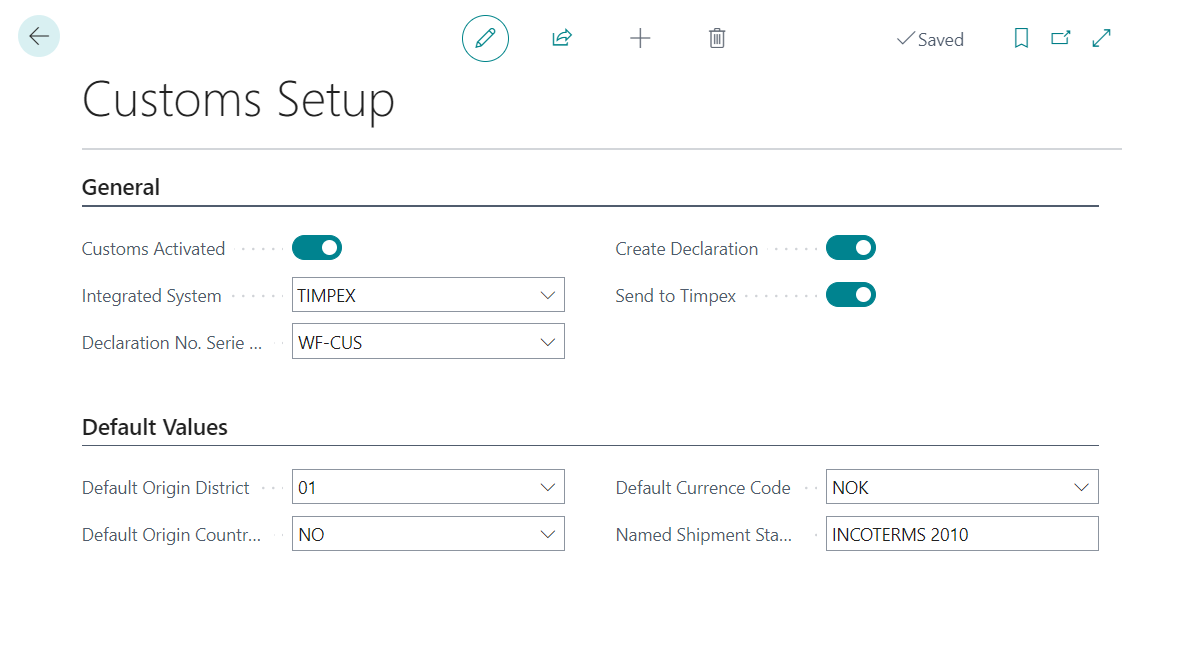
It is possible to set some Default Values. These Default Values will appear as default on all of the customs documents.
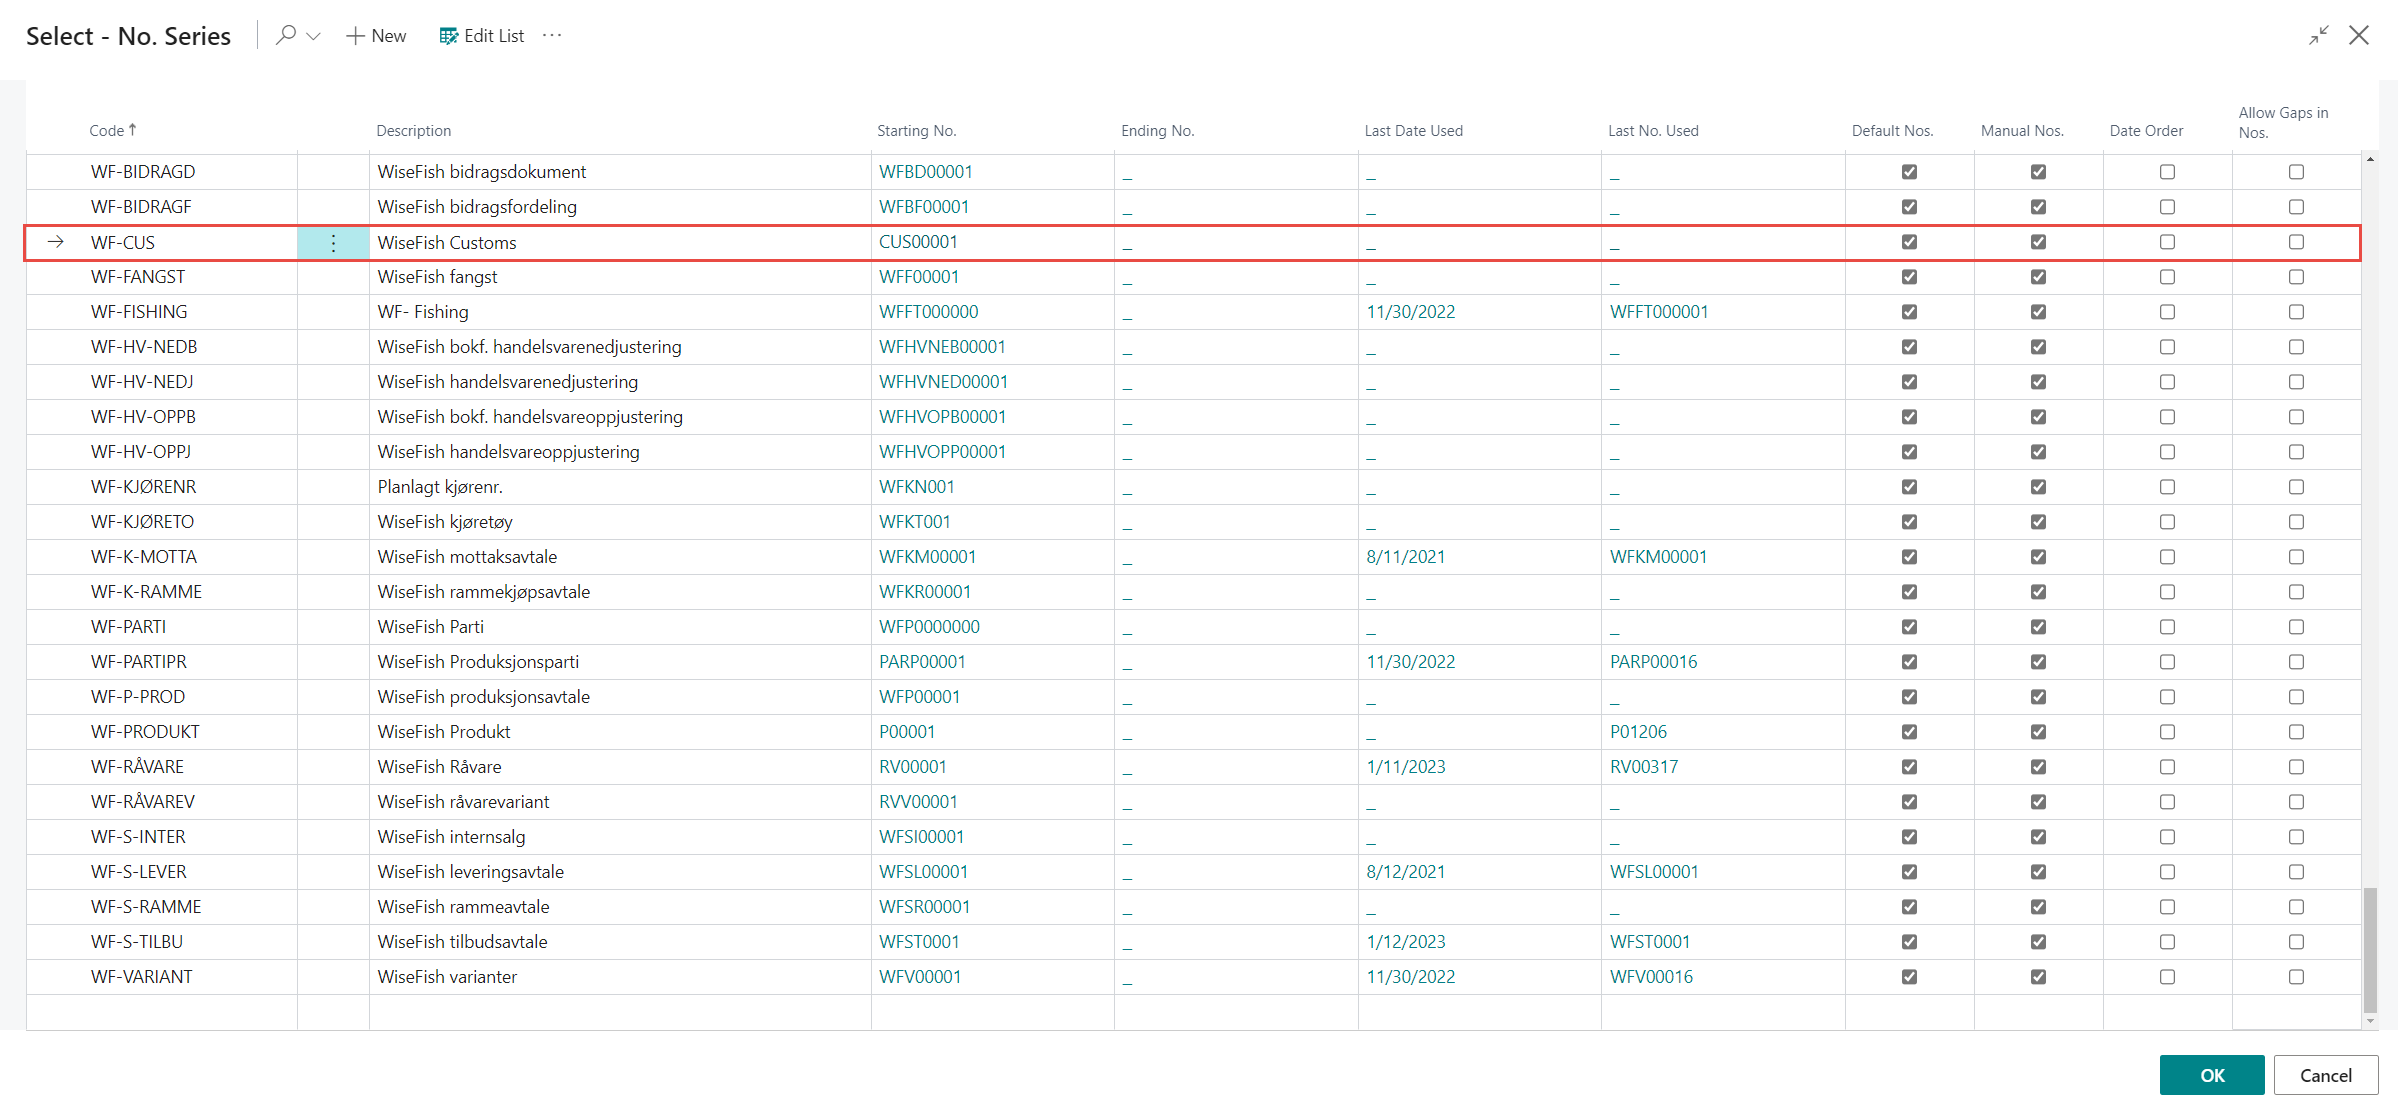
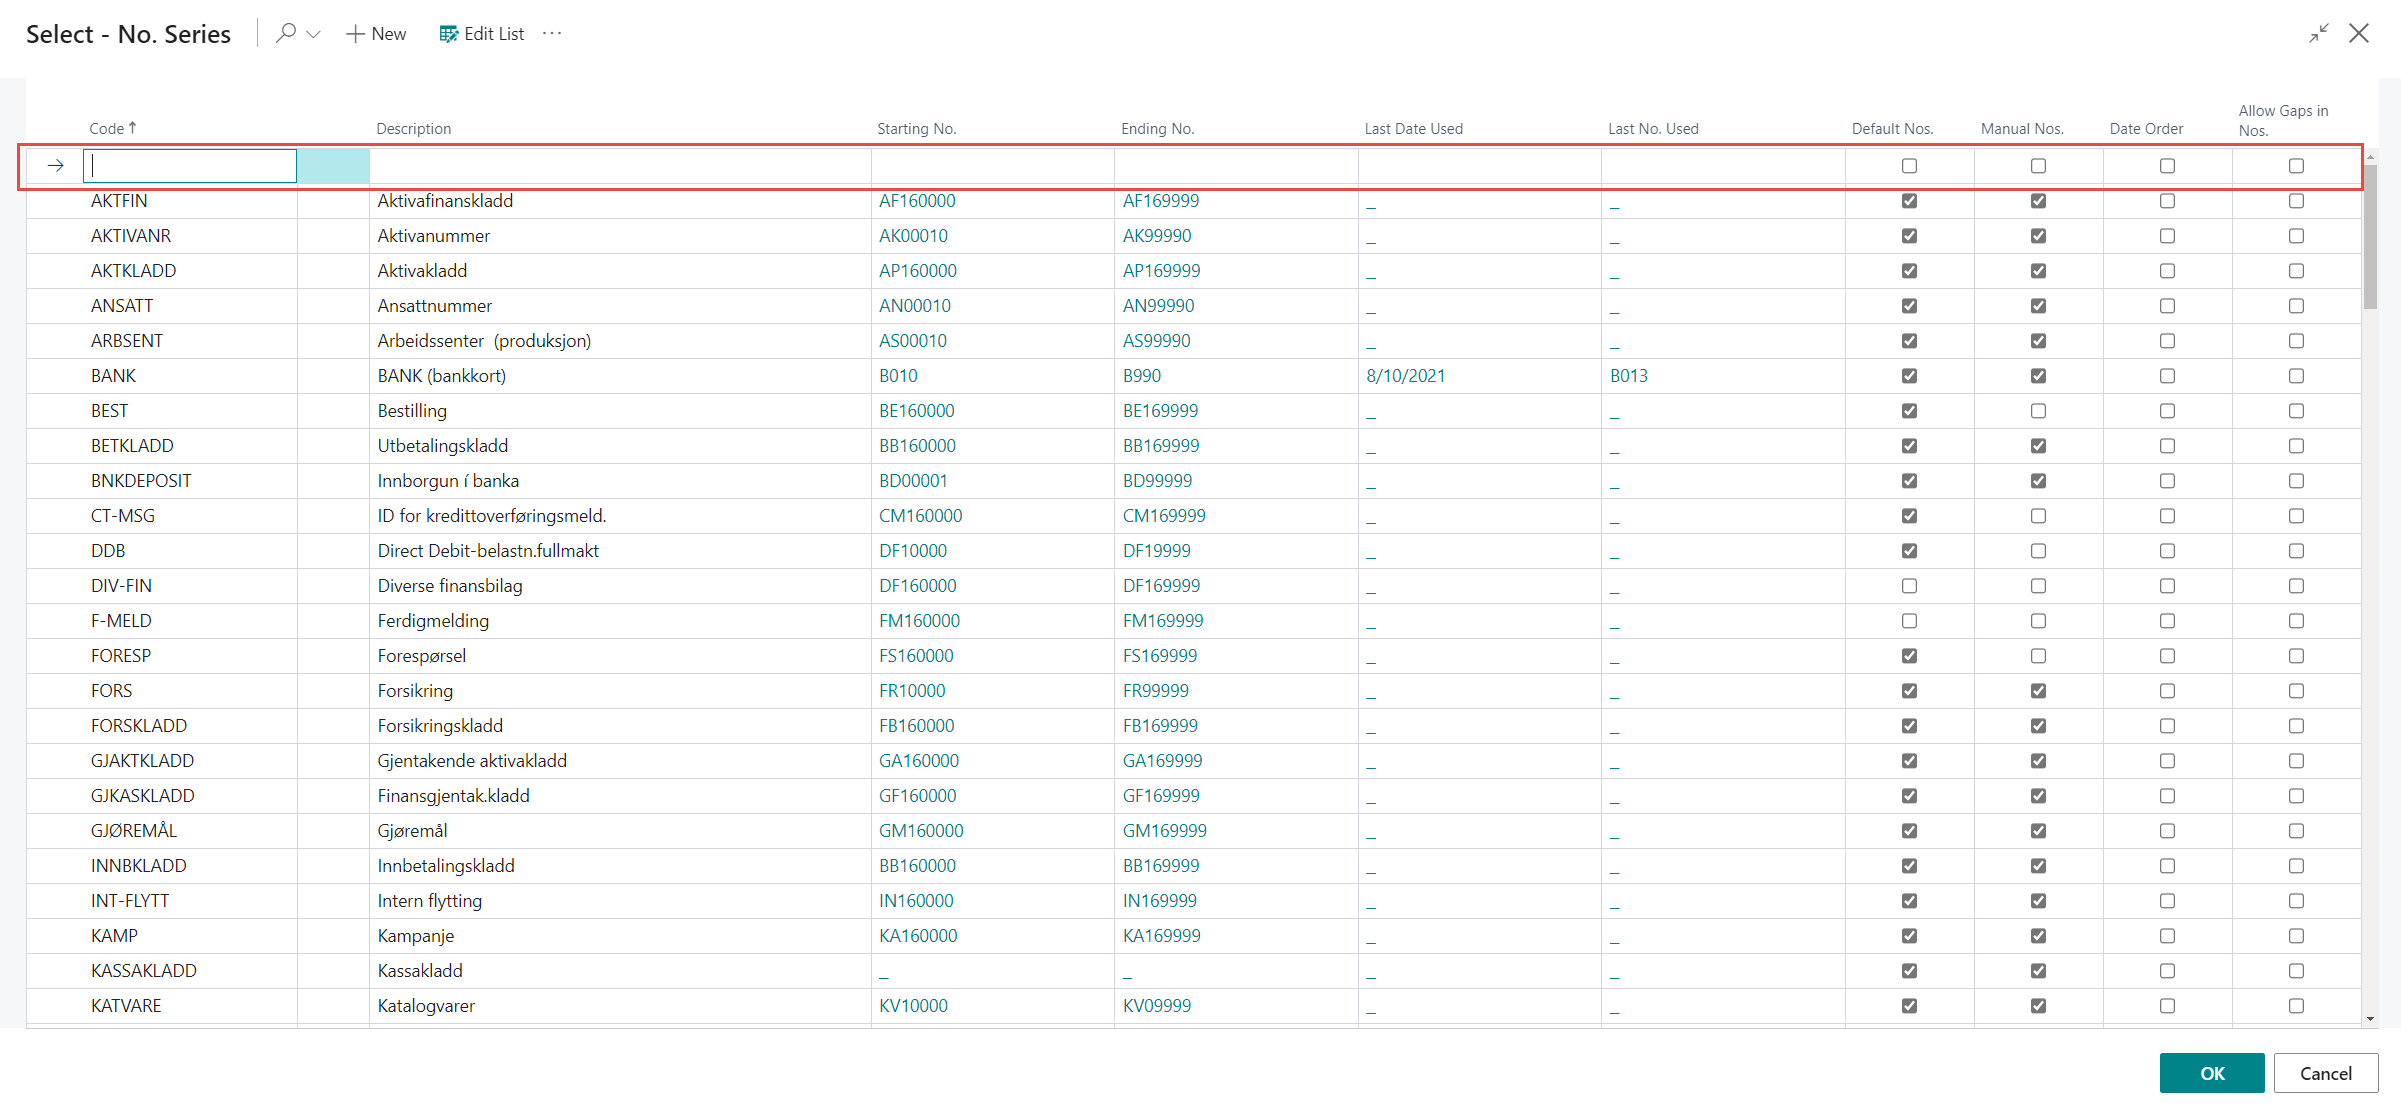
When selecting a number series it is possible to either select an existing Customs No. Series or create a new one. To find an existing one use the text box to search for it and then select it from the list. To create a new one click on the drop-down menu and then +New.
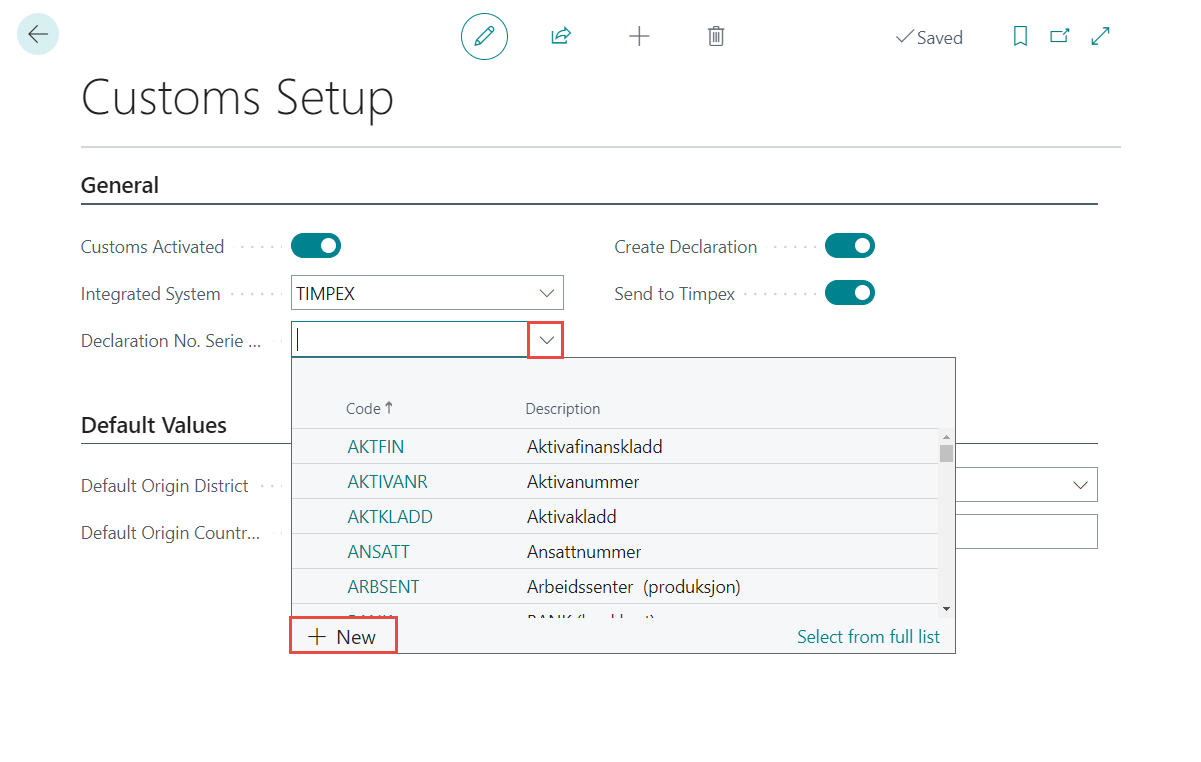
A new page opens where the user fills in the relevant fields.
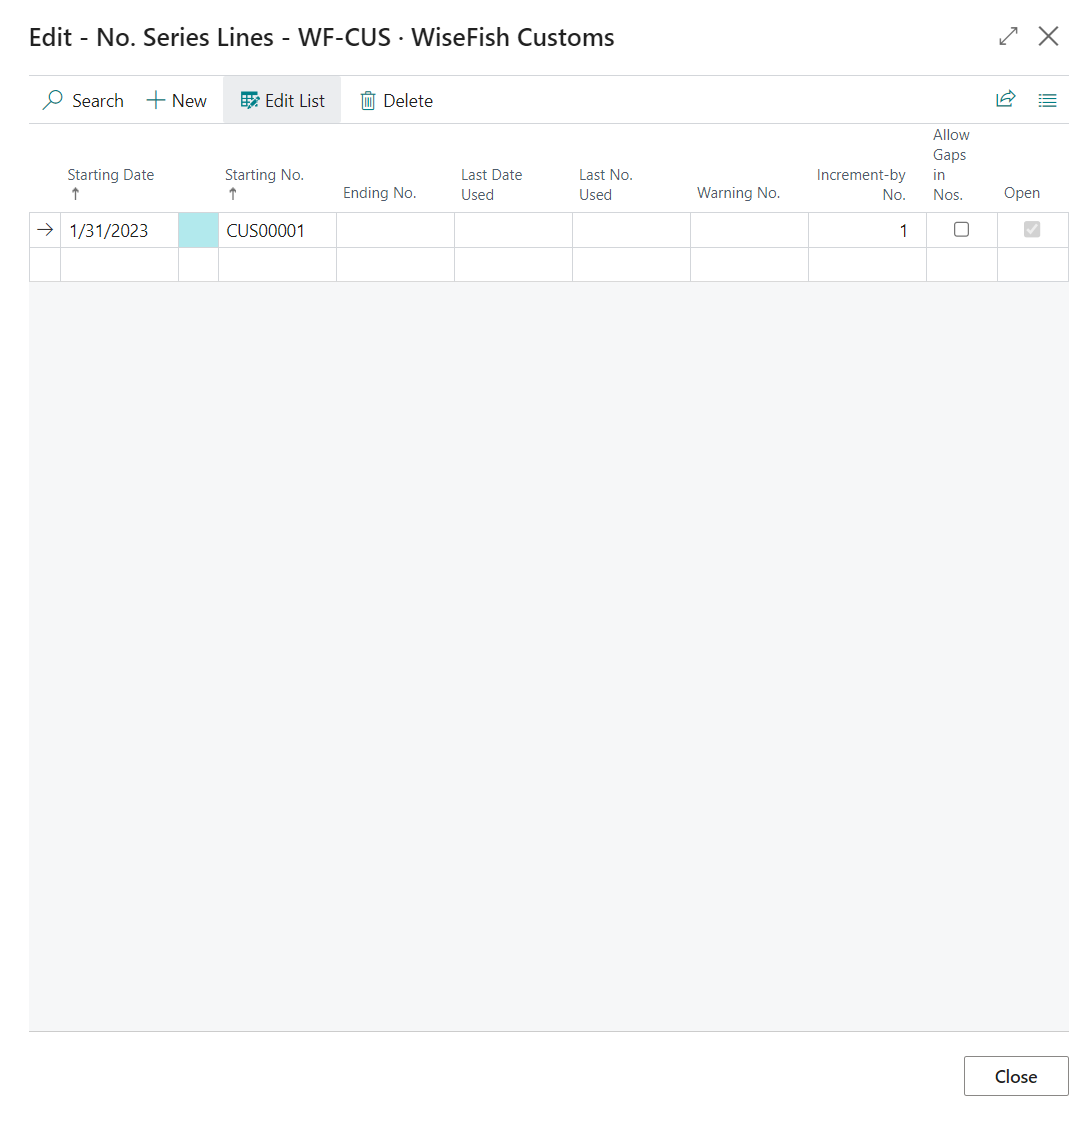
To fill in the Starting No., click on the field and a new page opens. Fill in the Starting Date and Starting No. If the user would like to have an Ending No. they can fill that out here too. It is not common to set an Ending No. Click Close when done.
The No. Series is then ready and the user clicks OK.
