
Summary
This document contains the instructions on how you connect Stream to Business Central.
The Business Central instance needs to have both Wisefish Base and Peripherals Extensions installed.
Stream connection overview
There are 2 buttons on the Main Login Screen, they are:
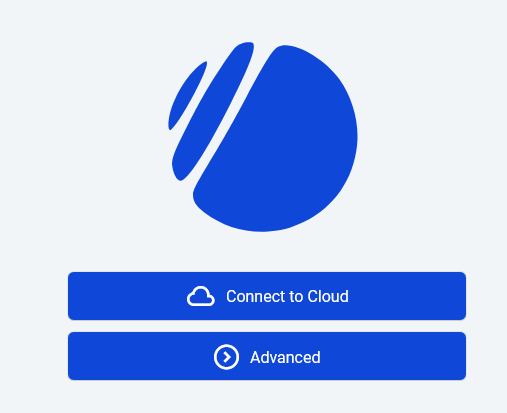
Advanced Options to Connect
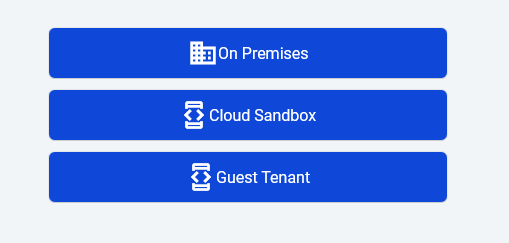
Advanced has the following buttons:
-
-
Connects you to an On Premises (hosted) Business Central instance.
-
You need the Server, Port and Instance for Stream to be able to compose the Connection String.
-
-
Supports both Basic Authentication and Integrated Windows Authentication.
-
-
-
Allows you to connect with Sandbox Environment on a specific Tenant.
-
This is normally used for Wisefish Development Environments.
-
-
-
Allows you to use a specific tenant.
-
This is normally used to connect to customer databases.
-
Also for the case when company has many tenants.
-
Connect to Cloud
Connect to Production
Follow the following steps to connect with the Cloud.
-
Open the application that you have downloaded.
-
Click or tab on “Connect to Cloud.”
-
Pick the Microsoft Account you want to use.

-
If your user is connected to more than one tenant, pick the Environment you want to connect to.
-
If you run into issues with authentication then you might have to connect using Guest Tenant as counter intuitive as it sounds.
-
-
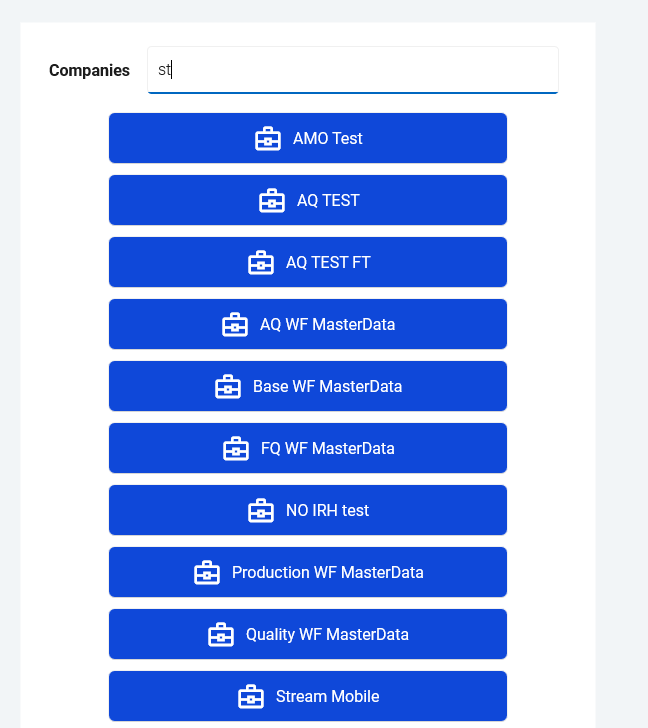
Otherwise you are prompted with a list of Companies.
Connect to a Cloud Sandbox
-
Click on Cloud Sandbox
-
If you run into issues with authentication then you might have to connect using Guest Tenant as counter intuitive as it sounds.
-
Select the Environment you want to connect to.
-
Connect as Guest Tenant
To be able to connect to Stream “cross tenant”.
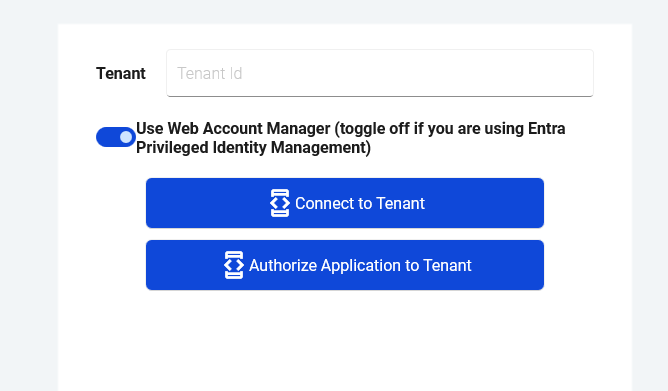
Click on the Guest Tenant
-
Enter the tenant id
-
Note if you are connecting through Entra Privileged Identity Management then you need to toggle the switch to off
-
The Wisefish Customer Connector needs to have been registered as Entra Application in Business Central and have been authorized.
-
Click on “Connect To Tenant”
-
-
Select the Environment you want to connect to.
Connect to an On Premises BC installation
-
Click on Advanced
-
Click the On Premises
-
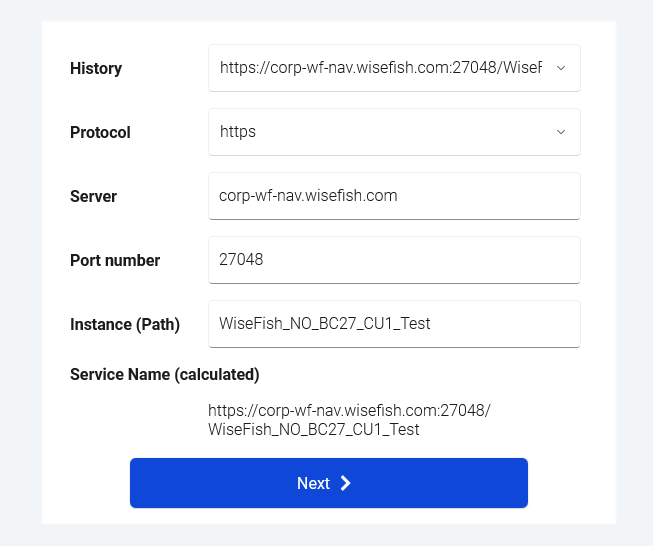
On this page, fill in
-
Protocol
-
The options are http and https, http is only used for local development servers, so always pick https.
-
-
Server
-
You can also select the previous connection from the History menu and the text fields will be automatically populated.
-
-
Port number
-
Instance (Path)
See next chapter if this is not known.
-
-
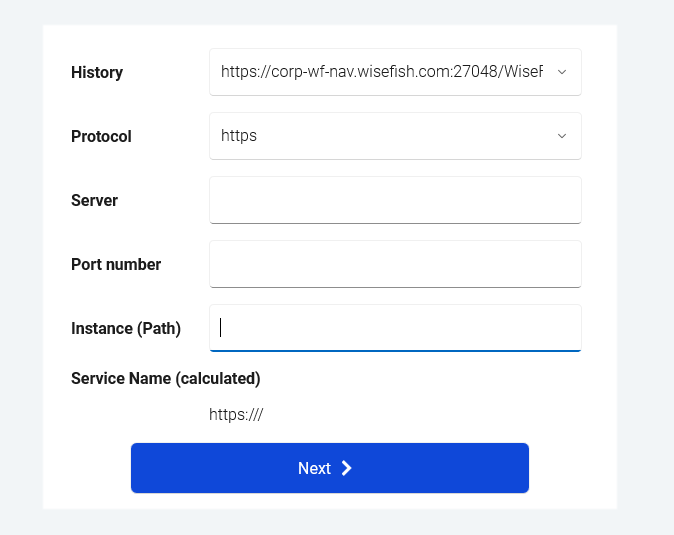
With this info we can fill in the data to connect to the environment:
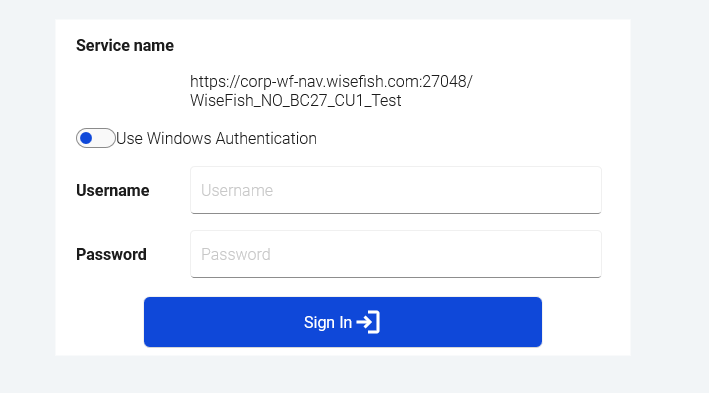
Now you can enter the user information
On prem supports:
-
Windows authentication
-
Basic authentication
-
Windows authentication with credentials
If the connection is successful then you can select the Company.
How to find Server, Port number and Instance
If the details are now known, don't worry, this chapter describes where to retrieve this information.
-
Log into the BC environment in browser
-
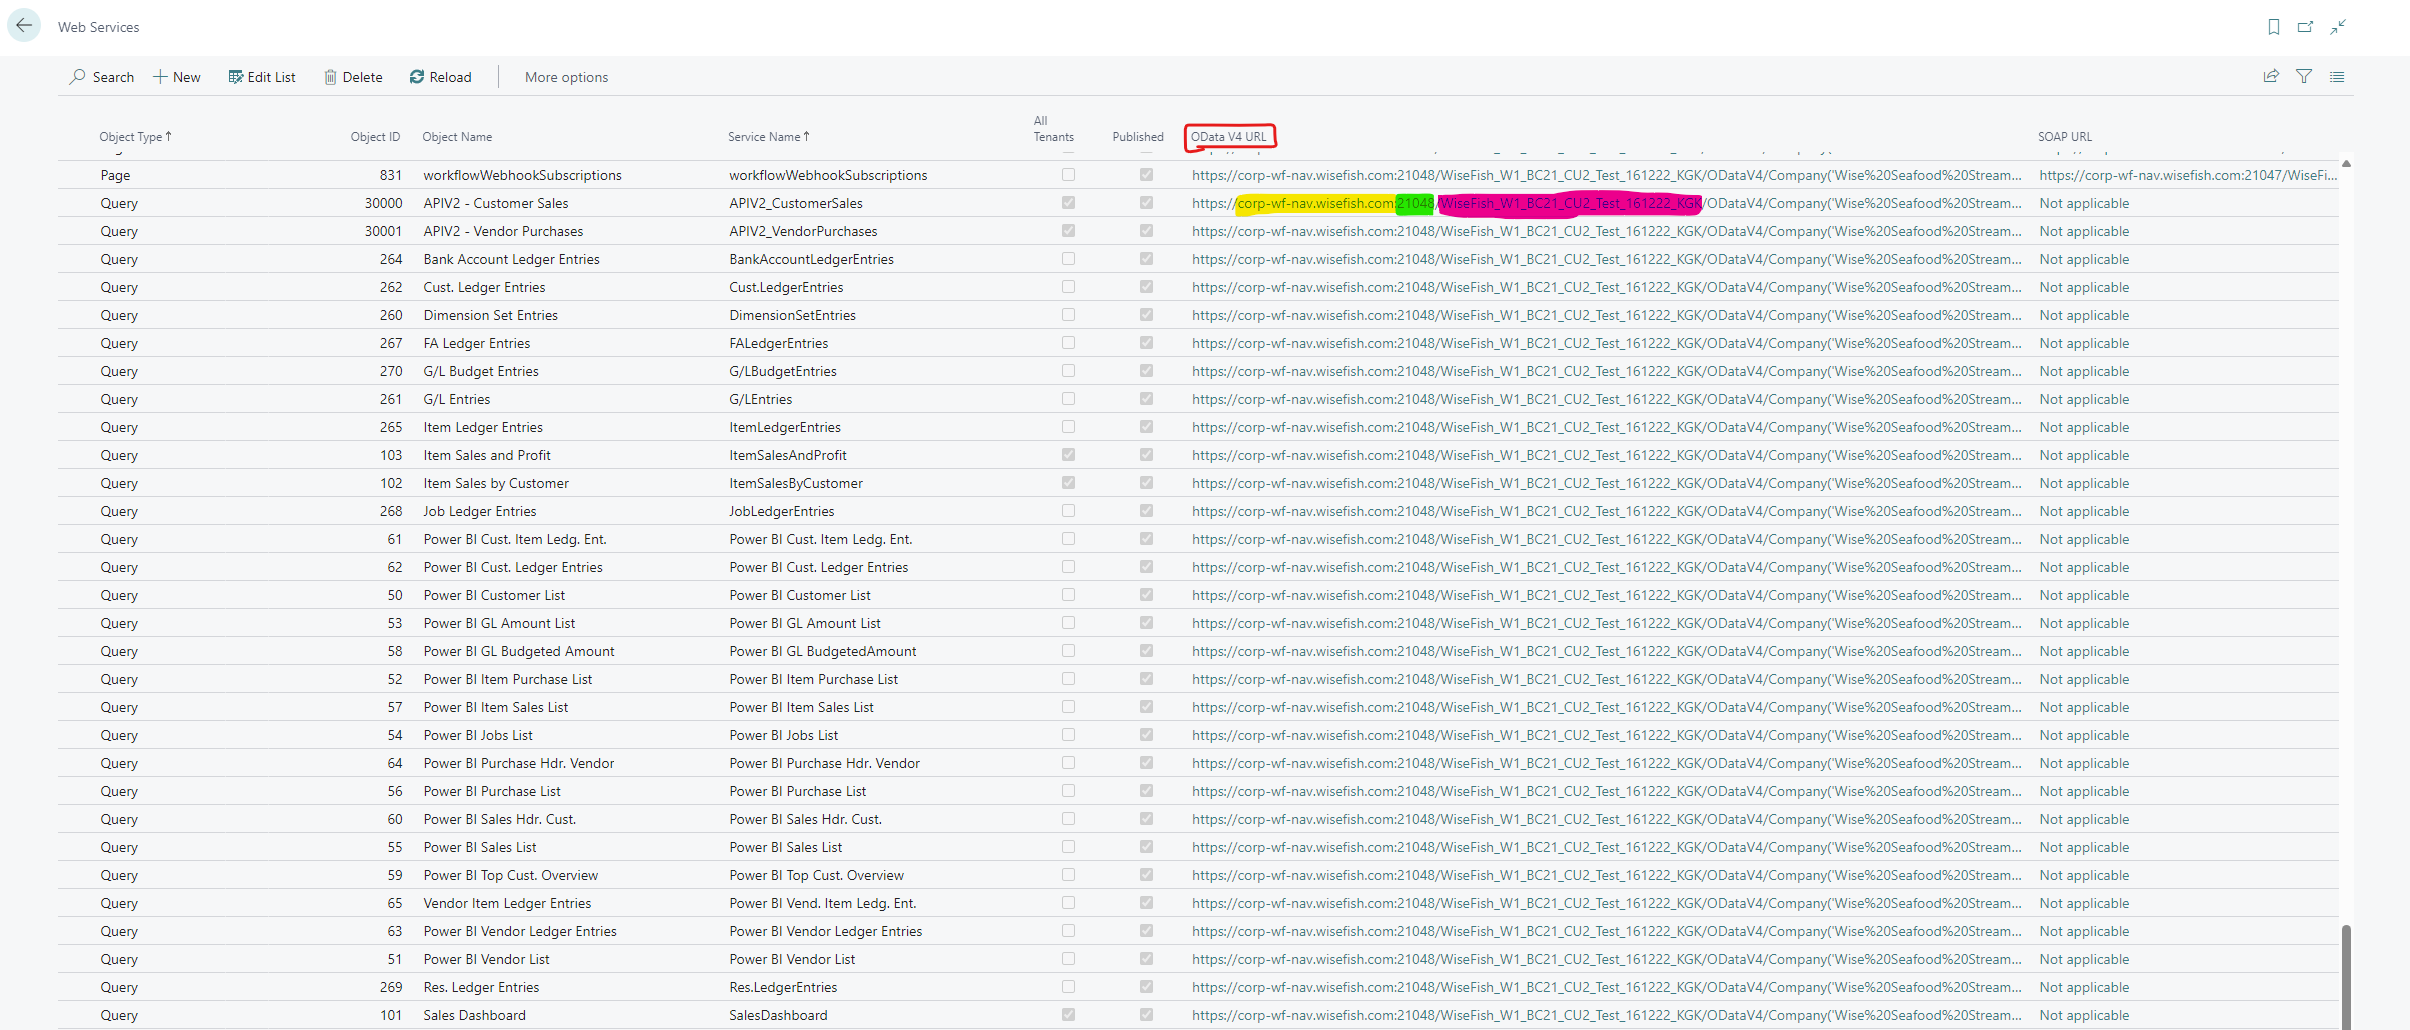
Search for page “Web Services”.
-
The field we are going to be looking at is the “OData V4 URL”, most of the links there are very similar and the following image displays what we are looking for.
-
Yellow = Server
-
Green = Port number
-
Pink = Instance (Path)
Select Environment
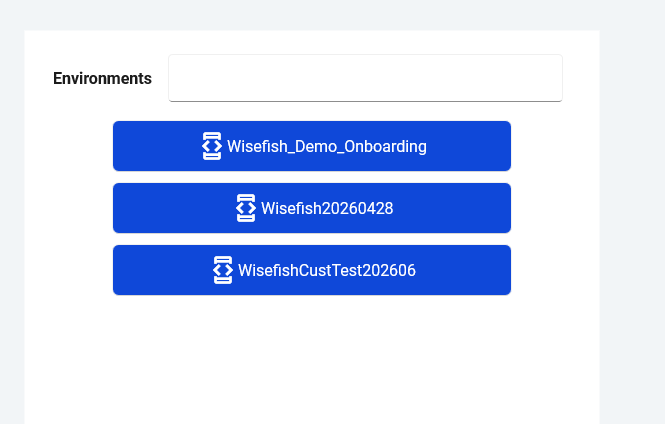
Select the Environment you want to use.
-
-
You can also enter the name of the environment into the search box
-
Pick a Company from the list.
Select Company
After successful connection you can pick the Company that you want to use:
-
As with Environments you can use your keyboard to filter the list.
Main Menu will appear after you have selected the Company