The Warehouse Picking Pallet Worksheet can be used to perform the picking of items to be shipped, within BC.
Open Worksheet
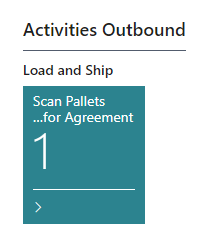
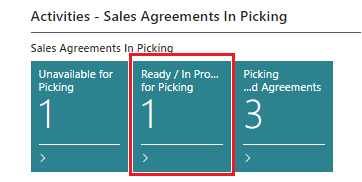
From a Cue
These are examples of cues that shows agreements, i.e. shipments, waiting to be picked.
-
Click on the cue, to view the list of the agreements.
-
For a selected entry in the list, the Warehouse Picking Pallet Worksheet is opened by clicking the action Scan Pallets into Picking for Shipment.

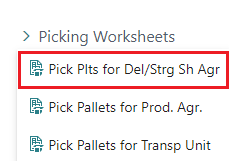
From the Menu
This same worksheet should also be available from the user’s role center with a menu option like this (but this of course depends on which role is active for the user):
Open the worksheet from Storage Shipment Agreement
When the Status is Ready for picking, the Scan Pallets into Picking for Shipment action will be enabled on the agreement.
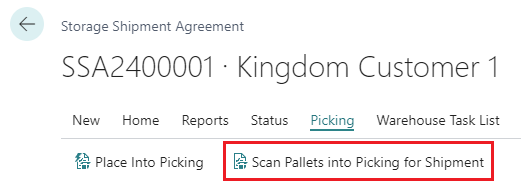
This action will open the Warehouse Picking Pallet Worksheet which is used to pick the items for shipment.
Open the worksheet from Delivery Agreement
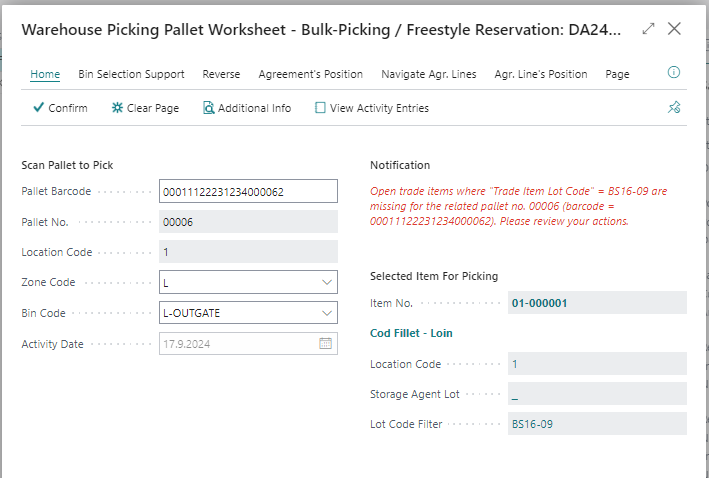
Layout of the Worksheet
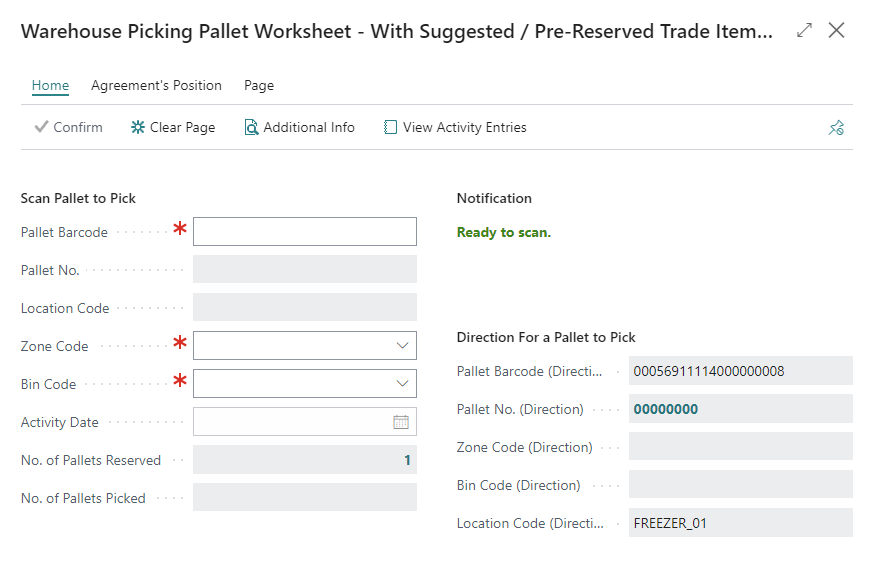
The page has a few different sections:
-
Scan Pallet to Pick (left-hand side): Where the scan for the pallet barcode takes place and the bin it will be put in after scanning.
-
Notification: Will be filled after scan.
-
Direction For a Pallet to Pick (right-hand side): Directions for picking the next pallet is given. However, this is only intended to support the user in his effort of picking next pallet.
-
Additional Info is made visible by clicking on Additional Info button.
-
Selection of Pallets to be Picked are also made visible with the additional info. These lines contain information about the pallets which have been placed into picking and their Picking Status is highlighted.

How to pick
One-step Process
This described the simplified process, i.e. when pallets are directly scanned into the shipping bin, i.e. a bin has to be marked with Type = Load & Ship.
-
Open the worksheet
-
Scan pallet into Pallet Barcode
-
Select the shipping area in Zone Code
-
Select the bin in that zone - it must be of type Load & Ship
-
Click Confirm
-
The pallet was moved to the new zone & bin. The new location can be seen on the Pallet Card.
-
The page fields are cleared and a new pallet is suggested in right-hand side of the page.
-
Warehouse Picking Status for the agreement is now Process for Picking
When same process has been repeated for all pallets on the agreement:
-
All pallets have been moved to the new zone & bin.
-
Warehouse Picking Status for the agreement is now Picking Finished
Two-step Process
This chapter describes the two-steps procedure, where the first step gets the pallet from the storage room into the outbound gate of the warehouse. While the second step moves the pallet from the outbound gate of the storage room, into the area where the loading & shipping of the pallets out of the warehouse takes place.
To use this method, first move the pallet into an area that does not have Type = Load & Ship.
-
Open the worksheet
-
Scan pallet into Pallet Barcode
-
Select the shipping area in Zone Code
-
Select the only bin in that zone
-
Click Confirm

-
The pallet was moved to the new zone & bin. The now location can be seen on the Pallet Card.
-
Warehouse Picking Status for the agreement is now Process for Picking
-
Open the worksheet again (if not already open)
-
Scan same pallet into Pallet Barcode
-
Select the second zone in Zone Code
-
Select the a bin of that zone (which is defined with Load & Ship)
-
Click Confirm
The pallet was moved to the zone & bin, for step 2.
When same process has been repeated for all pallets on the agreement:
Warehouse Picking Status of the agreement will become Picking Finished
Now the agreement is ready to be posted and items can be shipped.
See next chapter Posting a Storage Receipt Agreement
Notice how the color of the agreement in picking changes from black into orange as an indication of the procedural flow of the picking. When the color becomes green, all pallets have been confirmed into picking and fully reserved into the agreement.
Error examples